vmware-usb-osx
[Guide updated: 21st. March 2019]
This project includes a simple makefile that helps you create a bootable USB installer for VMware ESXi on MacOS.
Background on VMware ESXi
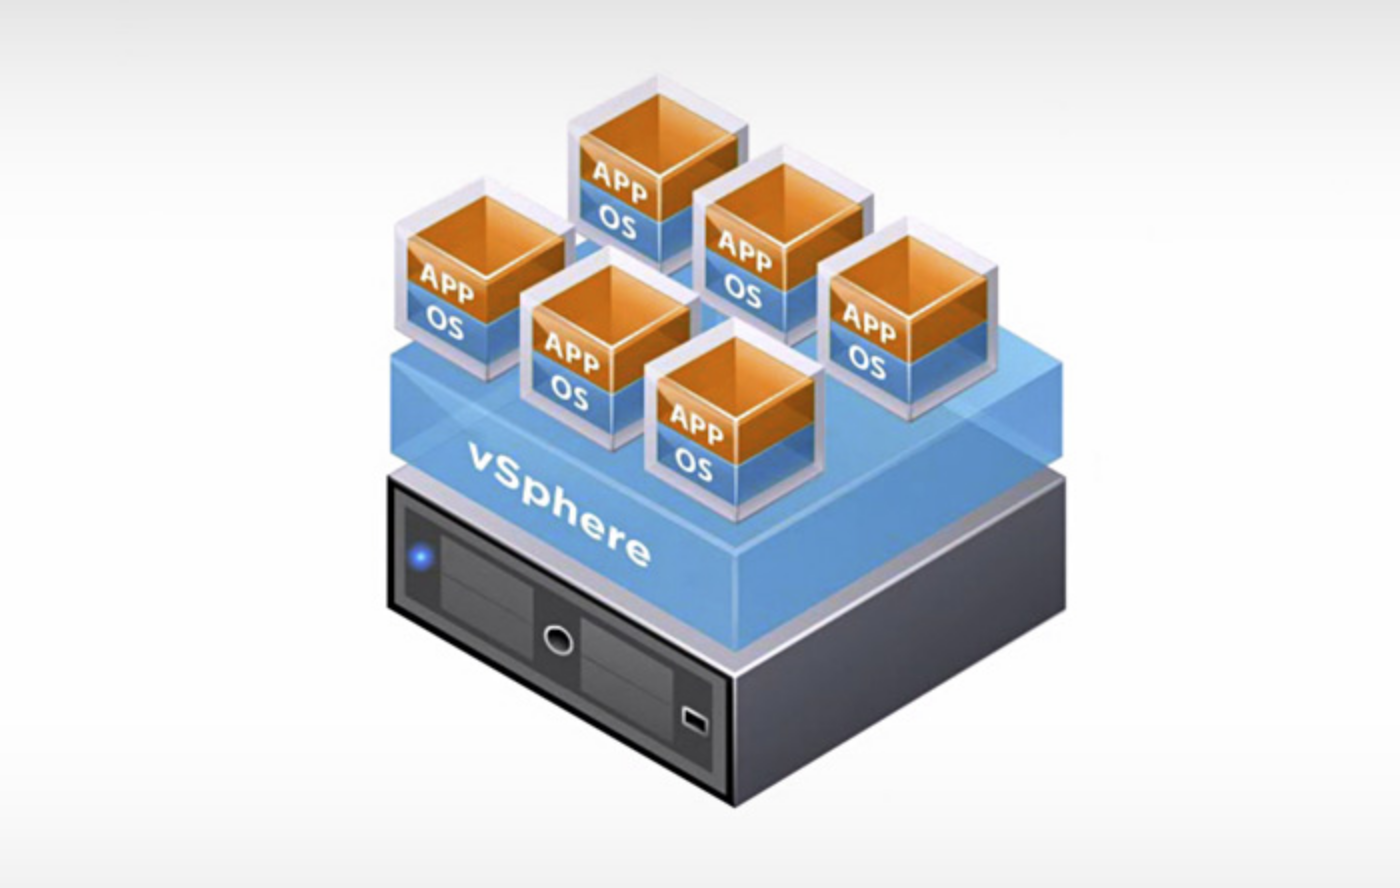
VMware ESXi is a lightweight operating system designed to run virtual machines. Whenever you hear about someone running virtual machines or cloud servers they’re using ESXi, Xen, QEMU/KVM, or a similar technology under the hood.
ESXi is proprietary software, but you can download it and use it for free. You will need to register for a VMware account and download ESXi (also called “vSphere Hypervisor”) before you use this script.
Instructions
- Download the make script here and the ESXi ISO and copy it into the same folder as the script. The ESXi ISO will have a long name with a version number like
VMware-VMvisor-Installer-6.7.0-8169922.x86_64. Rename it toesxi.isoso the script can find it. - You should always first update/install the newest Command Line Developer Tools from Apple. Run
xcode-select --install - Run
make devices - Insert your USB stick. You’ll see a new device appear in step 5.
- Run
make devices - Note the disk number for your USB stick. It will be something like
/dev/disk2 (external, physical):. The only part you care about is 2 (or 3, or 4, or whatever) for step 7. make vmware DISK=2(case sensitive) Note: This step might ask for your password forsudo.- Pop the USB stick into the computer you want to vmware-ify and restart it.
PS! Depending on how fast your USB stick is, step 7 may take a while.
Source: GitHub