NEW – Updated 17th. October 2018: You can now use your own Custom Images (ISO’s) directly on DigitalOcean. So you do not need to go through all the steps below. (They will still be here in case someone used the previous installation method.)
So read these two articles instead on how to use your own ISO file:
NEW – Updated 17th. October 2018: Everything below here is the old method:
Installing Microsoft Windows Operating System to DigitalOcean?s Droplet is impossible using conventional methods due to the inability to mount an installation ISO and lack of a KVM providing a virtual keyboard (ie. Send Ctrl + Alt + Del, etc.).
WhatUpTime have built special templates allowing Windows to be installed via DigitalOcean?s Recovery ISO; their Recovery ISO is available with all of their droplets, however you need to request it to be mounted via support ticket.
The guide below will walk you through the entire process, from beginning to end. Once you have reached the end of the guide your server will be successfully running Microsoft Windows Operating System.
Tools You Need
- DigitalOcean Account
- DigitalOcean Droplet (Any Size)
- NEW – Updated 17th. October 2018: Custom Images
- NEW – Updated 17th. October 2018: Bring Your Custom Image to DigitalOcean
- Remote Desktop Client (RDP) ? ?Remote Desktop? Client is built into all Windows Operating Systems
The Guide
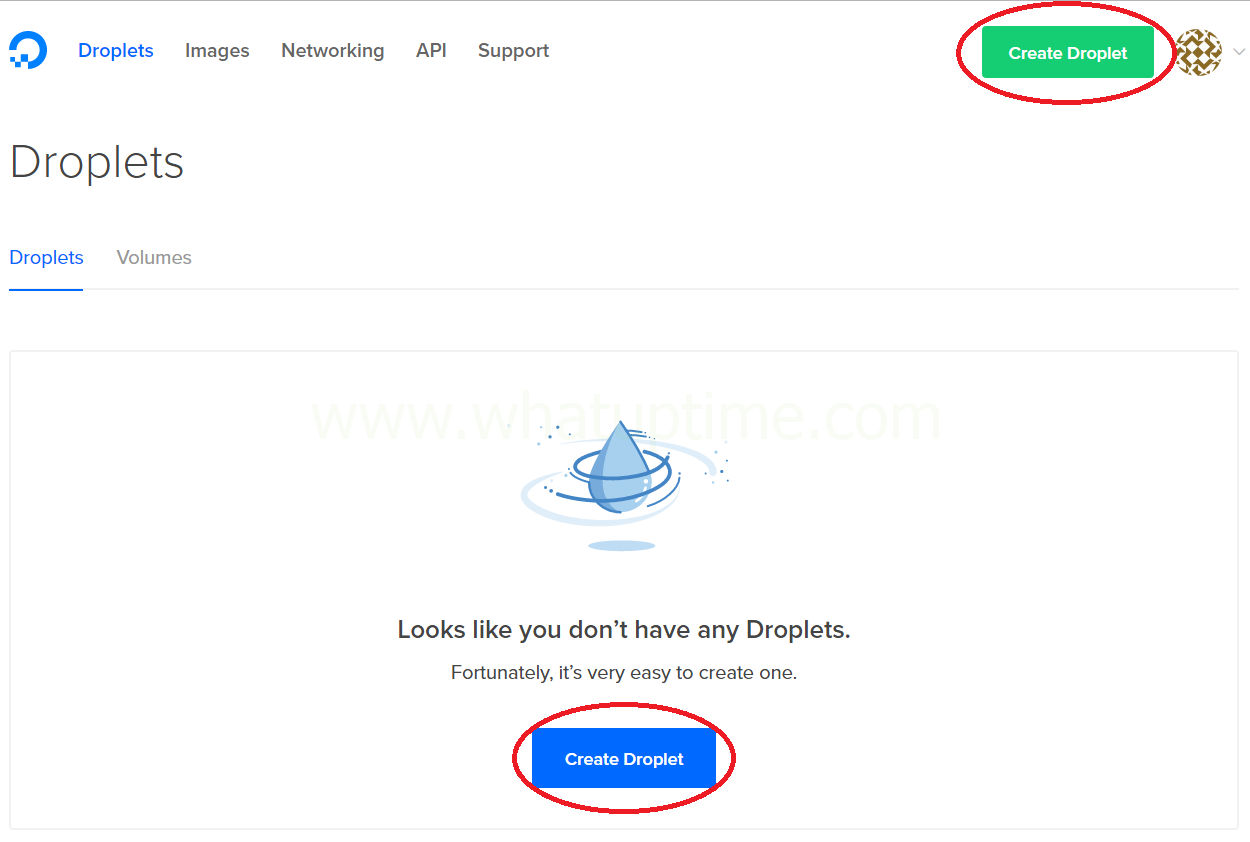
- Log In ? Log into your DigitalOceans Control Panel.
- Create Droplet ? Once you have logged in, you will need to choose ?Create Droplet?.

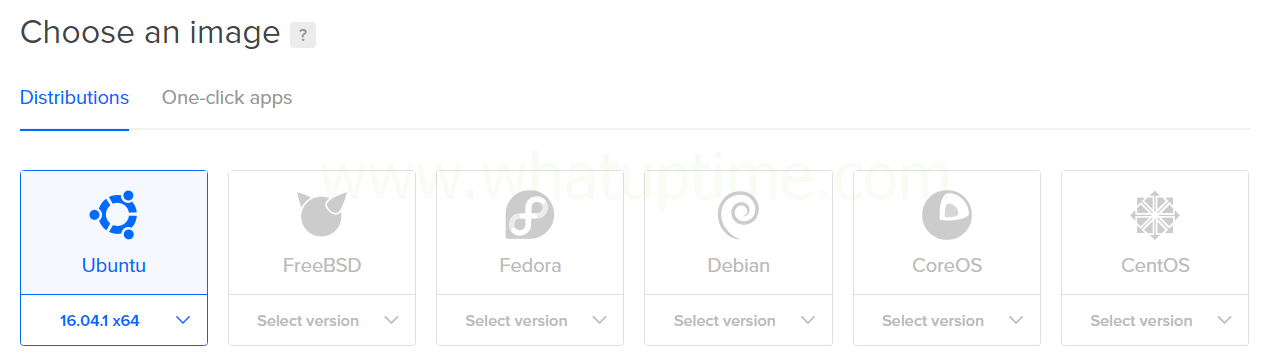
- Choose an Image ? Ubuntu 16 is recommended, however any Operating System may be chosen.

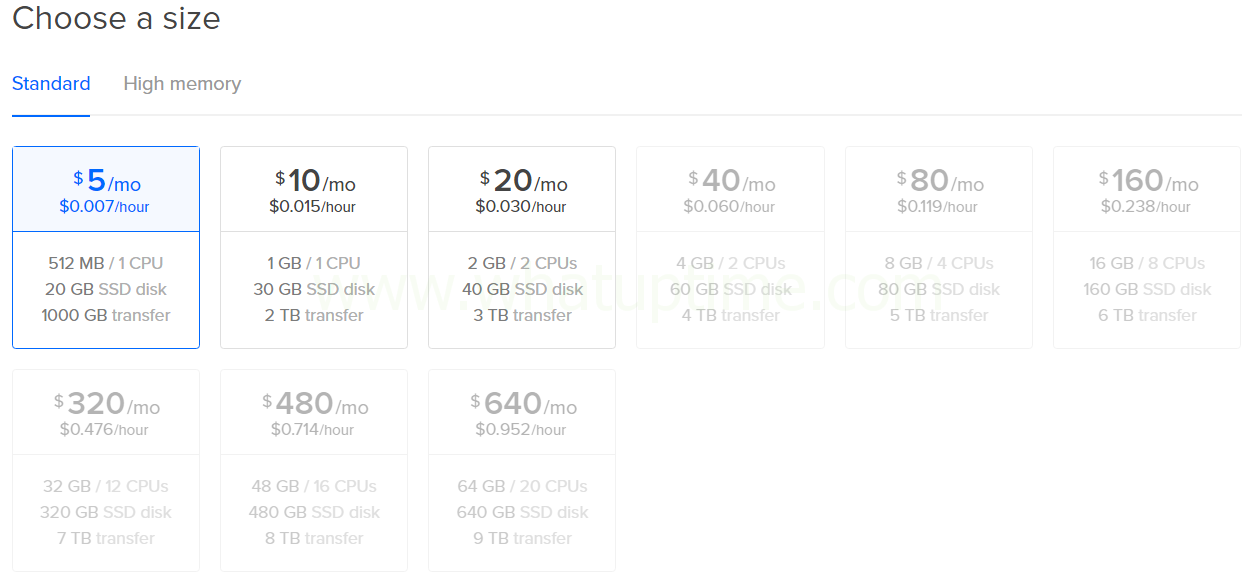
- Choose a Size ? The template will successfully install to all size Droplets, however depending on your workload you may need a larger size due to CPU & RAM needs.

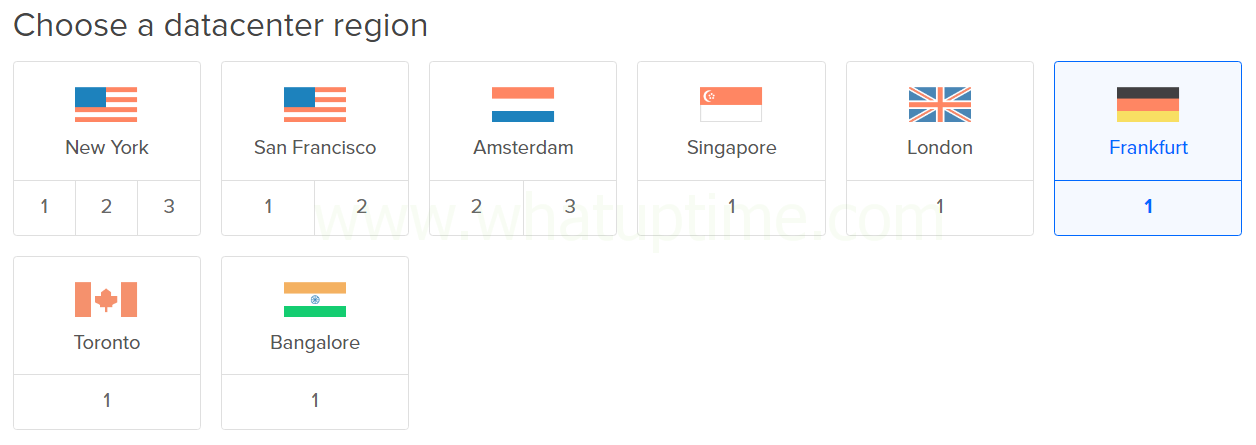
- Choose a Datacenter Region ? You may choose any location you desire to have your Droplet located.

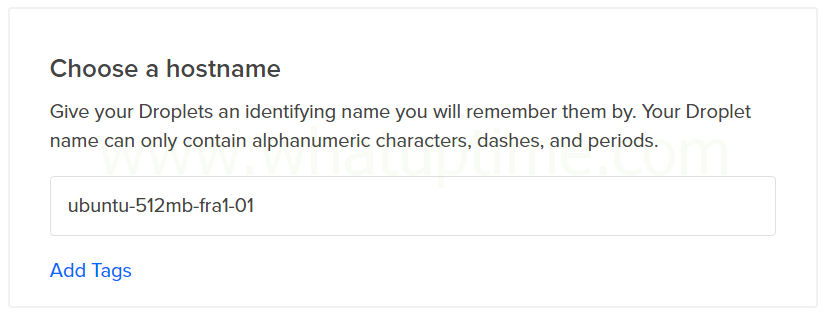
- Choose a Hostname ? Here you will choose the name for your Droplet.

- Create ? Once you have selected the operating system, size and location for your Droplet you will need to choose ?Create? at the bottom of the page.

- Recovery ISO & Support Ticket ? Once your Droplet has been successfully created a support ticket will need to be created to request DigitialOcean?s Recovery ISO be mounted to your Droplet.
- Locate Support Ticket Creation Page ? Choose ?Support? at the top of DigitalOcean?s control panel webpage.

- Support Tickets ? Once you are inside DigitalOcean?s ?Support Center? you need to choose ?Support Tickets? at the top right of the page.
- Create Ticket ? Depending on the age of your account you may need to choose ?Create Ticket? (Blue Button) at the top right of the control panel web page.

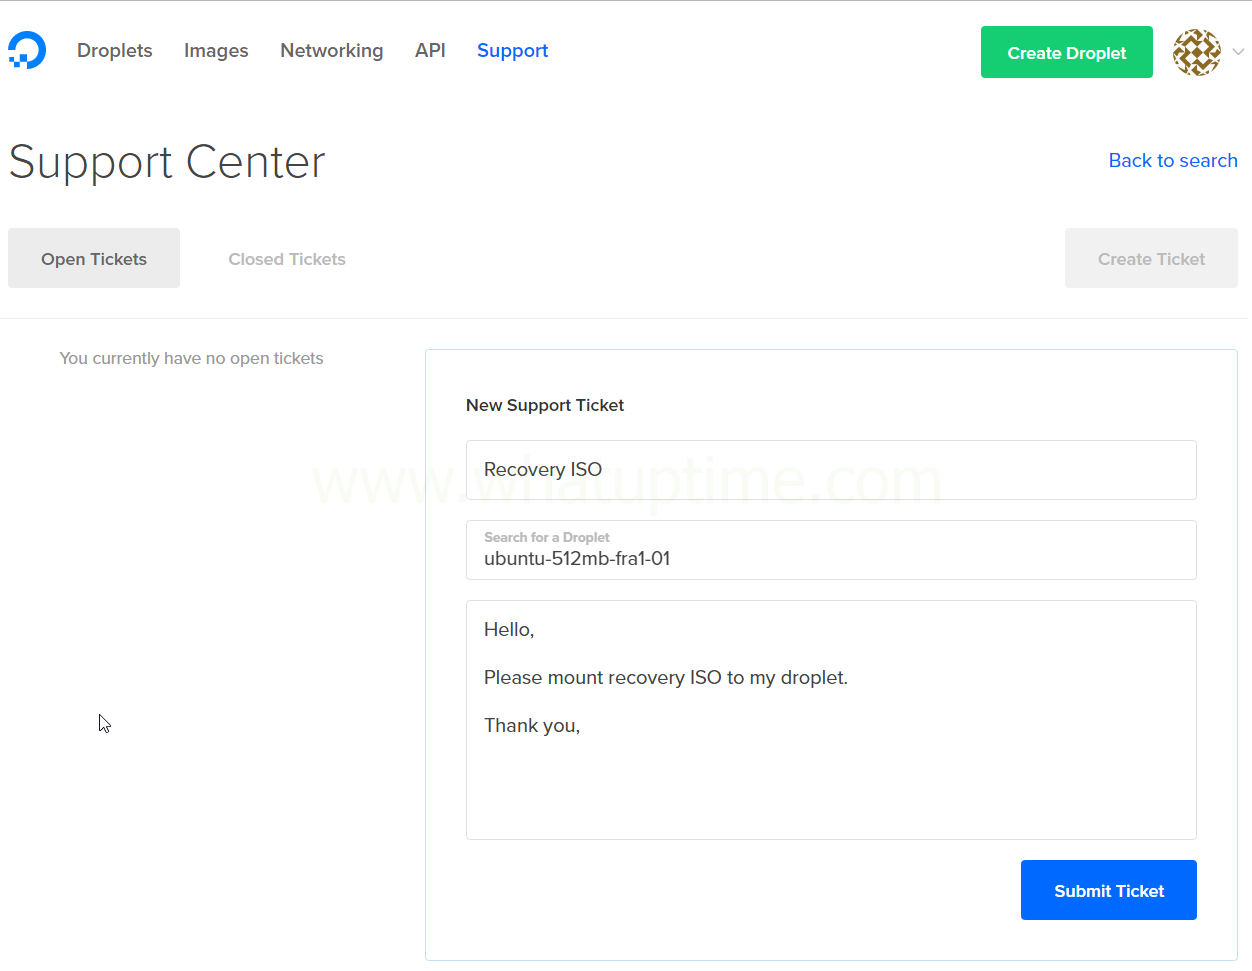
- Create New Support Ticket ? Once you have arrived on the ?New Support Ticket? page inside DigitialOcean?s control panel you will need to fill in the page similar to the following screenshot.

- Submit Ticket ? Once you have completed filling in the Support Ticket Request to be similar to the above screenshot you will need to choose ?Submit Ticket? (Blue Button) at the bottom right of the page.
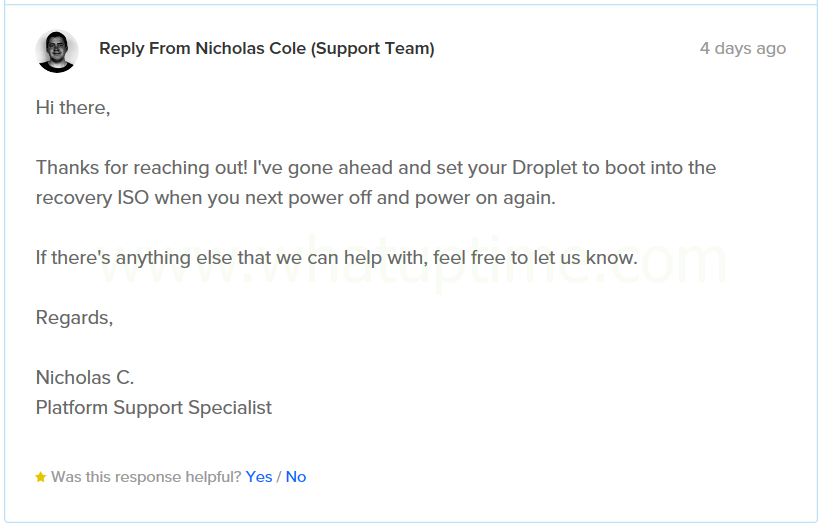
- Ticket Response ? DigitalOcean?s Support Team will eventually respond to your ticket noting the Recovery ISO has been mounted to your Droplet.

- Locate Support Ticket Creation Page ? Choose ?Support? at the top of DigitalOcean?s control panel webpage.
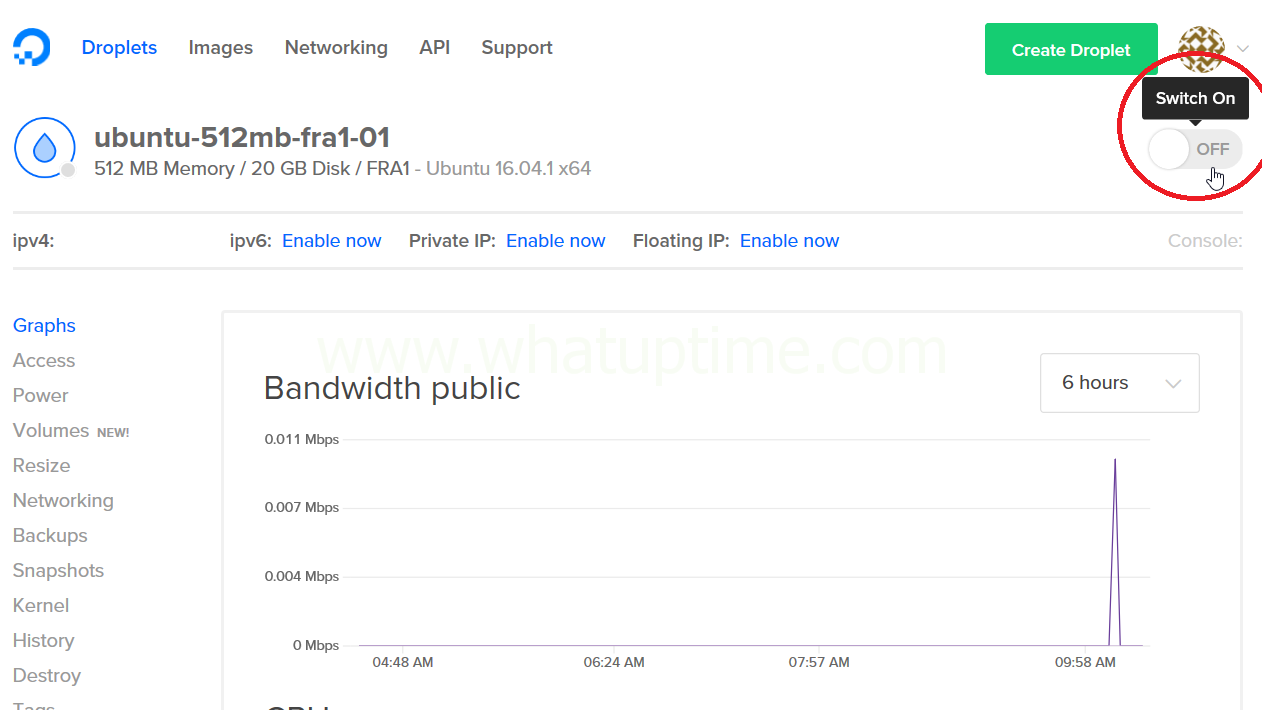
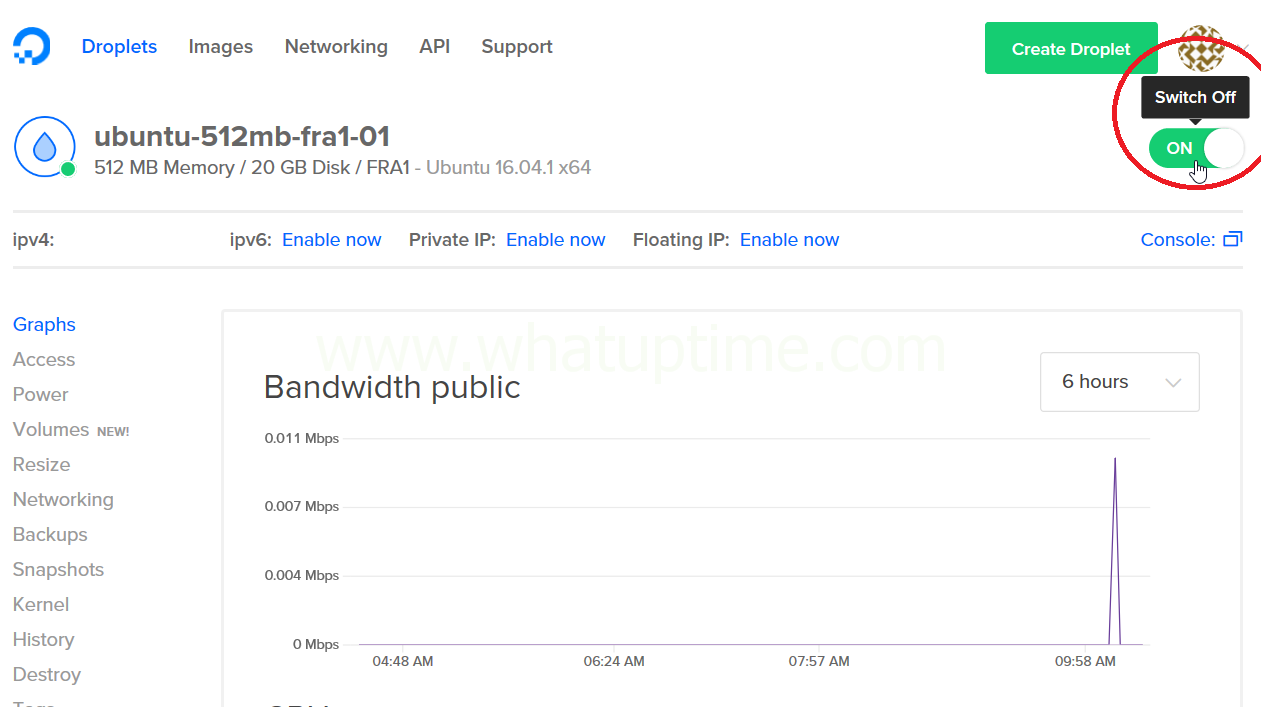
- Power Off & Power On Your Droplet ? Once the recovery ISO has been mounted for you by DigitalOcean?s Support Team you will need to power your Droplet off and then power it back on all via their web control panel.
- Choose ?Switch Off?

- Choose ?Turn Off? ? When you have chosen ?Off / Switch Off? you will be presented with an warning message providing some good information. I would recommend reading the message thoroughly so you are well informed for the future.When you have read the entire message continue by choosing ?Turn Off?.
- Choose ?Switch On?

- Choose ?Switch Off?
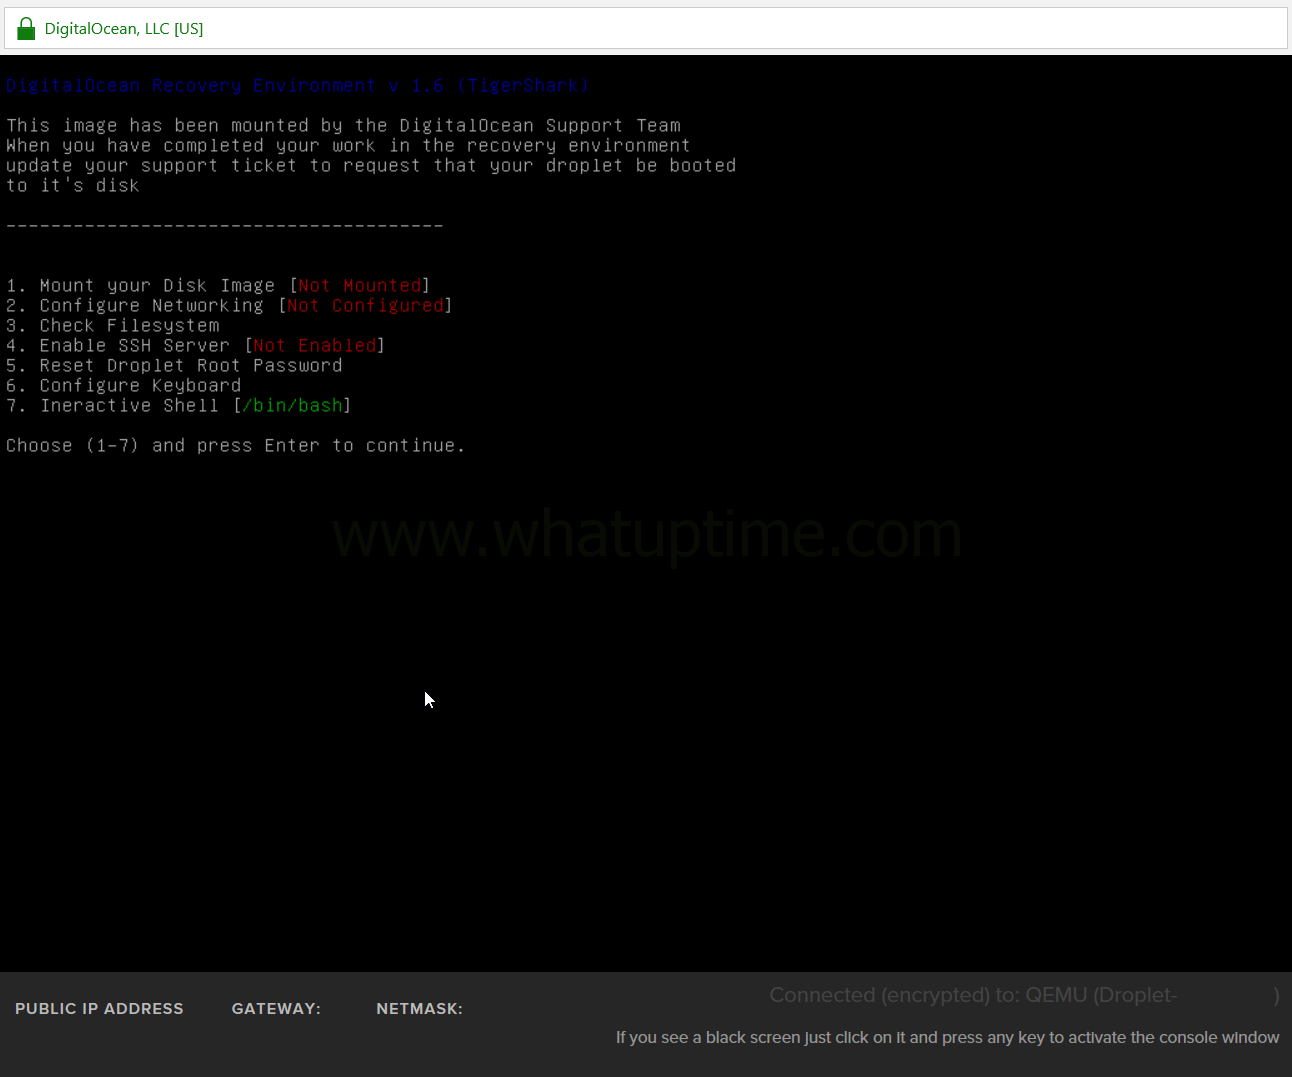
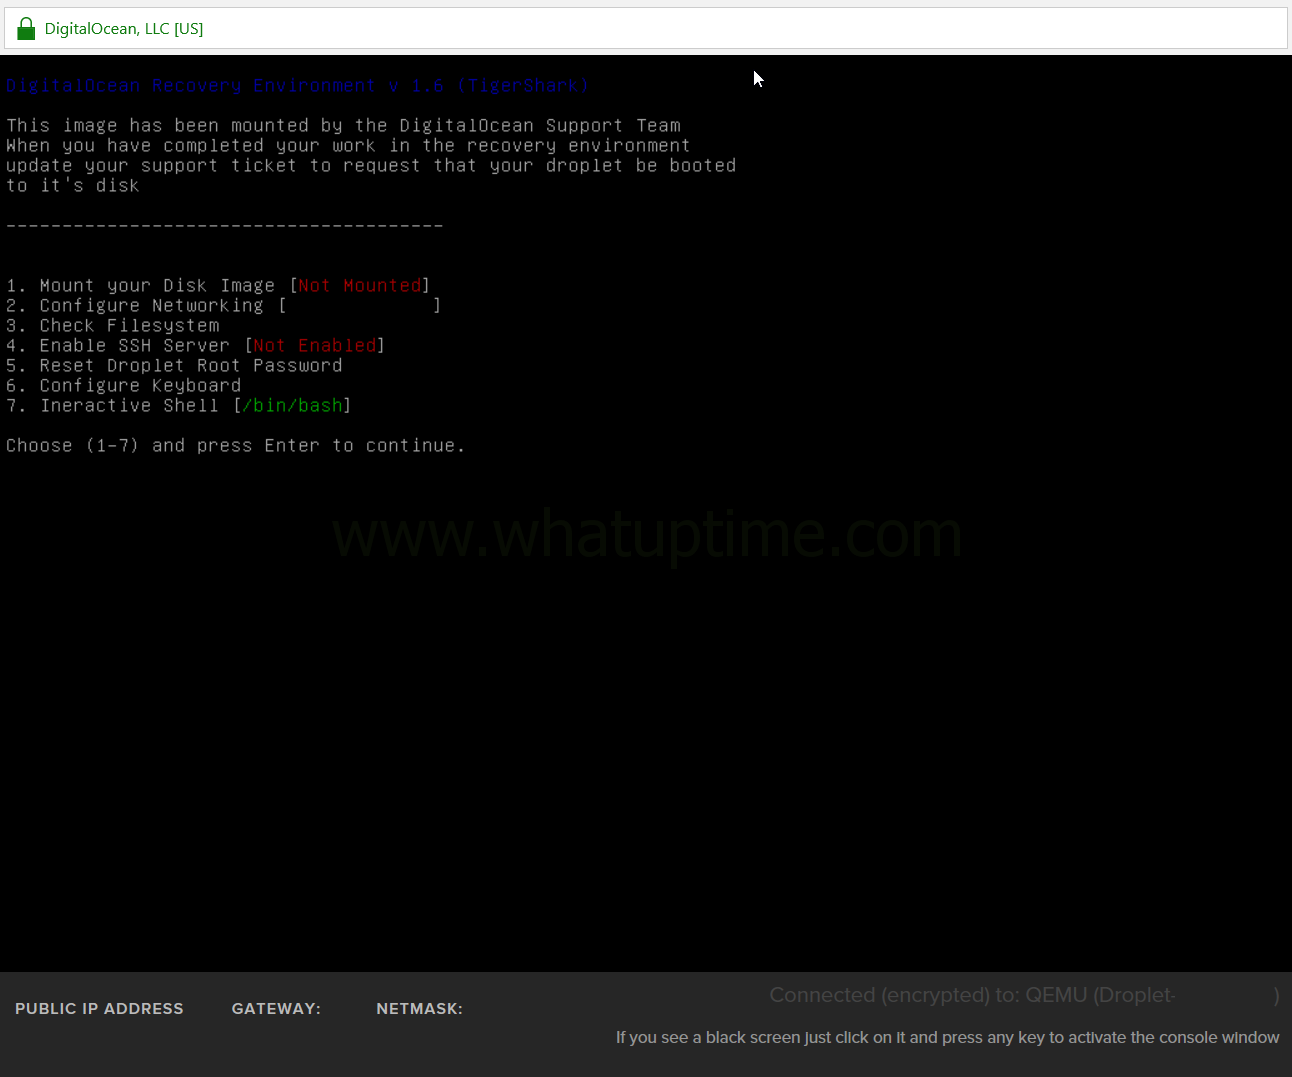
- Accessing Your Droplet?s Console ? DigitalOcean provides console access for all of their Droplets (It provides similar access to have a monitor, keyboard and mouse attached) which will be used to install Microsoft Windows onto your Droplet.
- Configure Recovery Network Access ? Now that you have successfully accessed your Droplet?s console and confirmed it has successfully booted into the recovery ISO we can begin configuring the networking for the recovery environment.Choose ?2? on your keyboard to choose option #2 (?Configure Networking [Not Configured]?) and then choose ?Enter? on your keyboard to run the command.

- Access Interactive Shell ? Your recovery environment now has network access allowing us to continue with the downloading and installation of Microsoft Windows to your Droplet.Choose ?7? on your keyboard to choose option #7 (?Interactive Shell [/bin/bash]?) and then choose ?Enter? on your keyboard to run the command.
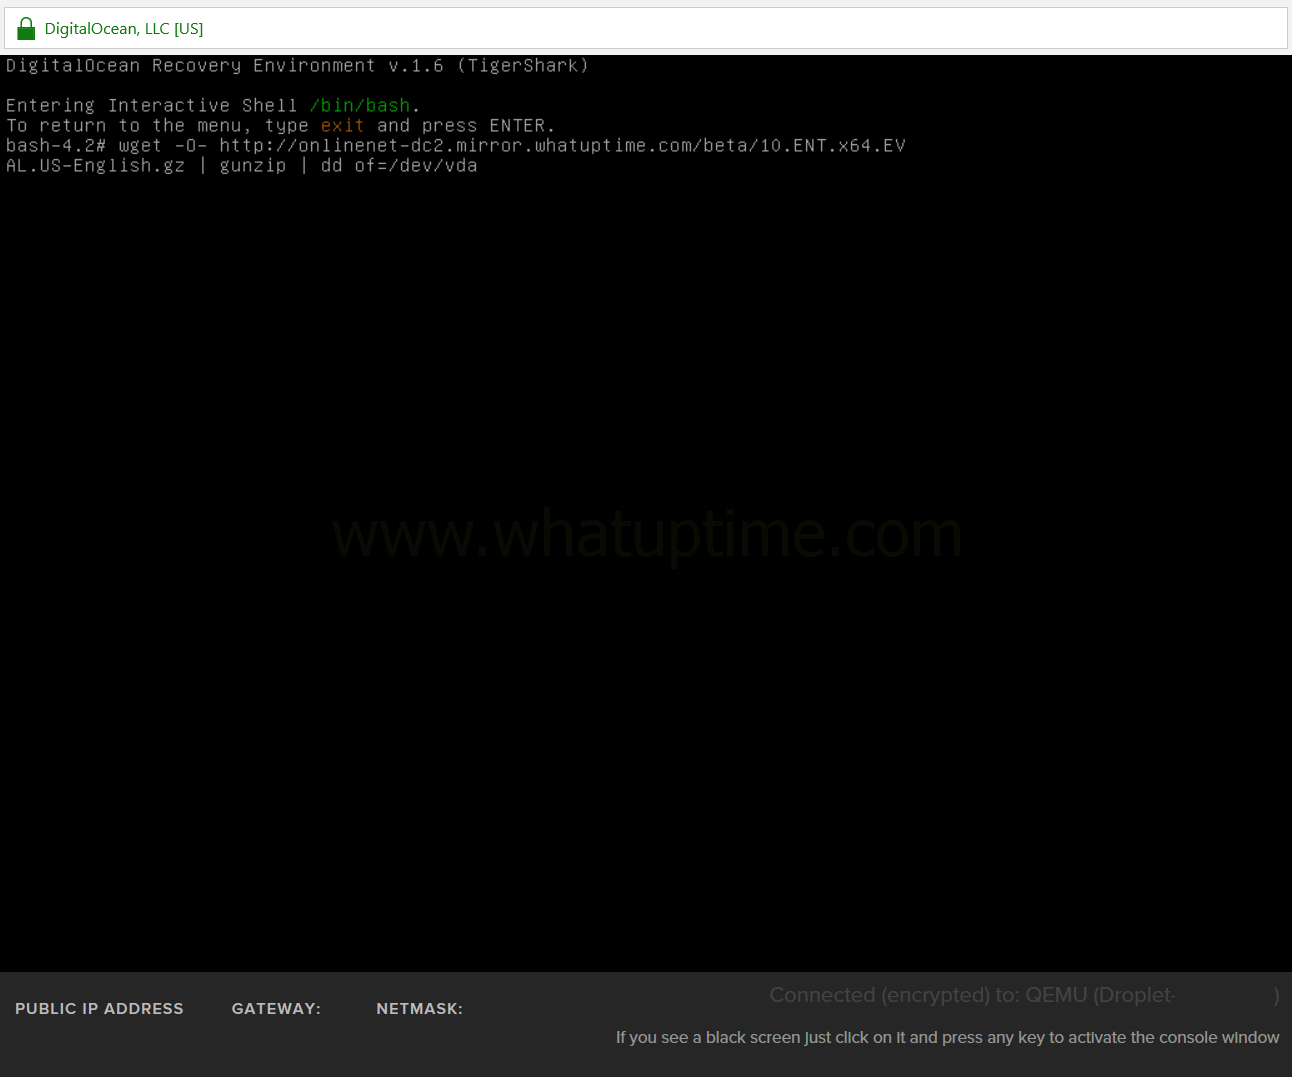
- Installing Microsoft Windows ? To begin the Windows installation you will need to input the following command into your Droplet?s console. Please ensure the command matches perfectly otherwise your installation will likely fail.
Choose ONE of the following!
WhatUpTime.com has multiple content mirrors around the world to assist with the speedy installation of Microsoft Windows onto your server. Please choose the location below that is closest to the location of your server and then input the corresponding command console window.This username and password is used to get all installations:
Username: WhatUpTime.com
Password: P@ssword64Once you have entered the below string of your chosing, you will need to choose ?Enter? on your keyboard to begin the installation.Microsoft Windows 10 Enterprise Evaluation 64-bit
OVH, Canada (BHS)
wget -O- http://ovh-bhs.mirror.whatuptime.com/beta/10.ENT.x64.EVAL.US-English.gz | gunzip | dd of=/dev/vdaOnline.net, France (DC2)
wget -O- http://onlinenet-dc2.mirror.whatuptime.com/beta/10.ENT.x64.EVAL.US-English.gz | gunzip | dd of=/dev/vdaMicrosoft Windows Server 2016 Standard Evaluation 64-bit
OVH, Canada (BHS)
wget -O- http://ovh-bhs.mirror.whatuptime.com/beta/2016.STD.x64.EVAL.US-English.gz| gunzip | dd of=/dev/vdaOnline.net, France (DC2)
wget -O- http://onlinenet-dc2.mirror.whatuptime.com/beta/2016.STD.x64.EVAL.US-English.gz | gunzip | dd of=/dev/vdaMicrosoft Windows Server 2016 Datacenter Evaluation 64-bit
OVH, Canada (BHS)
wget -O- http://ovh-bhs.mirror.whatuptime.com/beta/2016.DC.x64.EVAL.US-English.gz| gunzip | dd of=/dev/vdaOnline.net, France (DC2)
wget -O- http://onlinenet-dc2.mirror.whatuptime.com/beta/2016.DC.x64.EVAL.US-English.gz | gunzip | dd of=/dev/vdaMicrosoft Windows Server 2012 R2 Standard Evaluation 64-bit
OVH, Canada (BHS)
wget -O- http://ovh-bhs.mirror.whatuptime.com/beta/2012.R2.STD.x64.EVAL.US-English.gz| gunzip | dd of=/dev/vdaOnline.net, France (DC2)
wget -O- http://onlinenet-dc2.mirror.whatuptime.com/beta/2012.R2.STD.x64.EVAL.US-English.gz | gunzip | dd of=/dev/vdaMicrosoft Windows Server 2012 R2 Datacenter Evaluation 64-bit
OVH, Canada (BHS)
wget -O- http://ovh-bhs.mirror.whatuptime.com/beta/2012.R2.DC.x64.EVAL.US-English.gz| gunzip | dd of=/dev/vdaOnline.net, France (DC2)
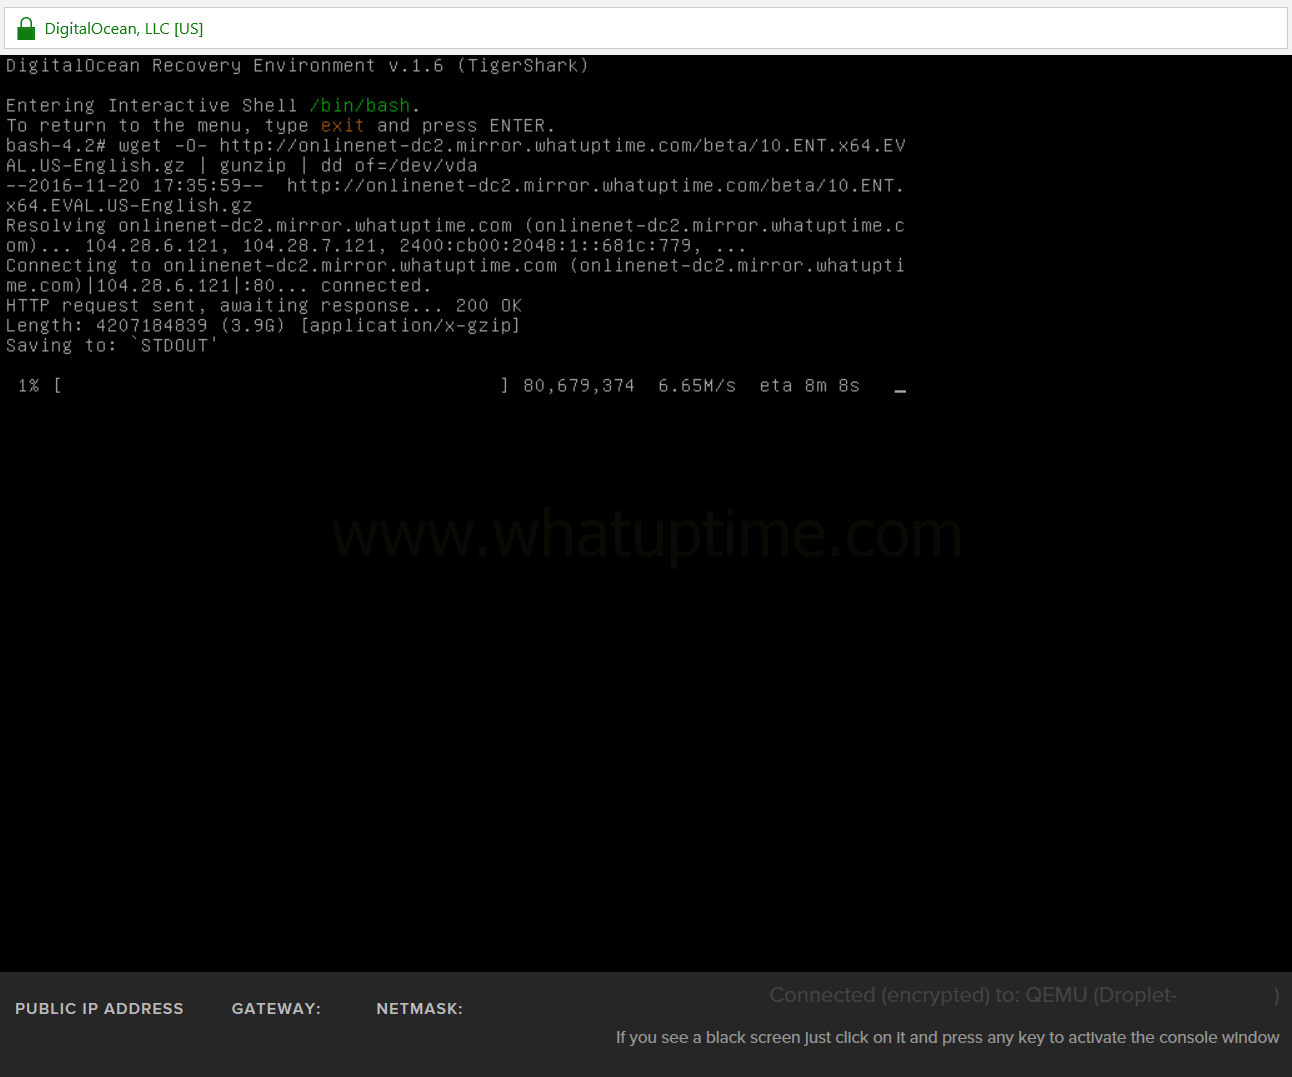
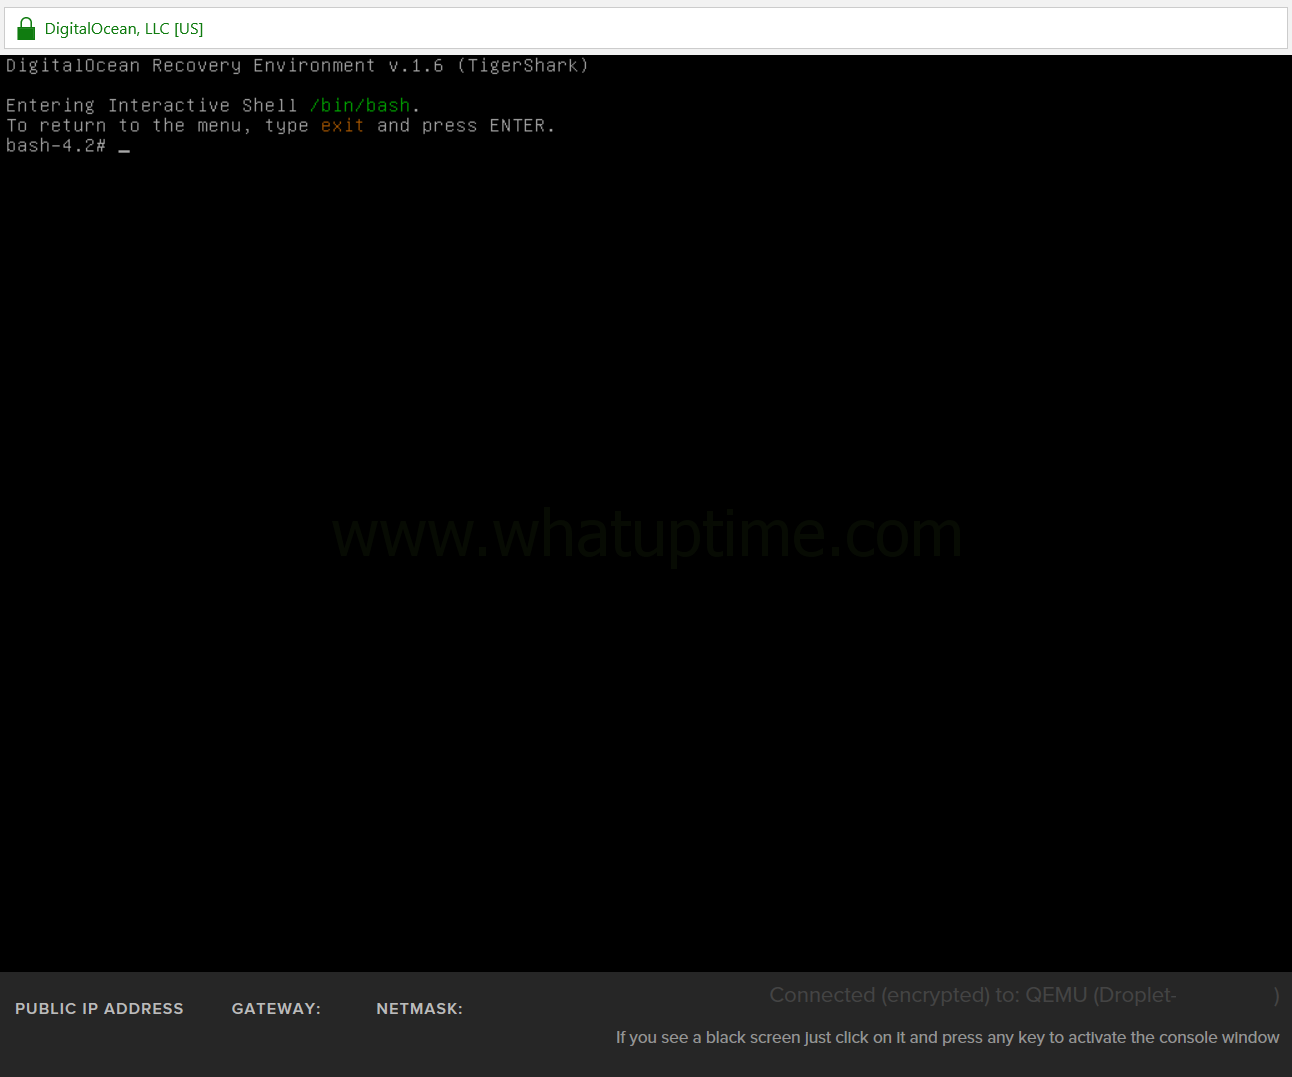
wget -O- http://onlinenet-dc2.mirror.whatuptime.com/beta/2012.R2.DC.x64.EVAL.US-English.gz | gunzip | dd of=/dev/vda - Installation Complete ? The installation of Microsoft Windows onto your Droplet will be complete when your Droplet?s console resembles the below screenshot.The important portion of the screenshot to review is the blinking cursor to the right of the ?bash-4.2#? prompt which denotes the command you ran to install the template has completed.
- Powering Off Your Droplet ? Once you have confirmed the installation of the Microsoft Windows template has completed using the information above you will need to power off your Droplet via DigitalOcean?s web control panel.
- Respond To Your Recovery ISO Support Ticket ? When you Droplet has completed powering off you need to respond to your previous recovery ISO ticket requesting DigitalOcean Support Team remove the recovery ISO.

- Recovery ISO Removed ? Once DigitalOcean?s Support Team has removed the recovery ISO from your Droplet you will be ready to proceed to the next step.

- Power On (Switch On) Your Droplet ? Choose ?Switch On? for your Droplet allowing your Droplet to begin starting up and booting into Microsoft Windows.
- Open your Droplets Console ? As done in Step #10 you will need to open the console for your Droplet as the next actions you will need to take will be performed via your Droplet?s console.

- Confirm Microsoft Windows is Running ? Once you have launched your Droplet?s console you should be presented with either Microsoft Windows booted or Microsoft Windows login screen (It will depend on how long it took Microsoft Windows to fully boot).
- Logging into Microsoft Windows ? Once you have confirmed your Droplet has completed booting into Microsoft Windows you will be ready to proceed logging into Microsoft Windows using the username & password provided in Step #13 above.
- Successfully Logged Into Microsoft Windows ? Once you have entered the username, password and chosen ?Enter? on your keyboard you should be successfully logged into Microsoft Windows on your Droplet.
- Manually Configure Your Droplet?s IP Address ? Unfortunately due to the nature of DigitalOcean?s network configuration you will need to manually configure your assigned IP address(es) inside Microsoft Windows in order for your Droplet to access the internet.Microsoft?s Guide ? https://msdn.microsoft.com/en-us/library/dd163570.aspx
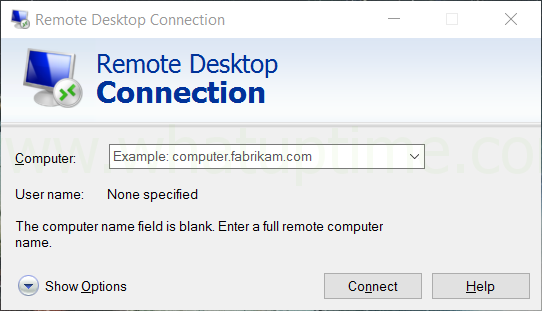
- Microsoft Windows Remote Desktop ? Once you have completed manually configuring the IP Address(es) for your Droplet you will be able to log into your Droplet directly using Microsoft Remote Desktop.

- Congratulations! You have successfully installed Microsoft Windows to your DigitalOcean?s Droplet and accessed it via Microsoft Windows Remote Desktop! You should consider completing the follow to avoid potential issues in the future.
- Change the password for the ?Administrator? account, a guide on how to change a password in Microsoft Windows Server 2016 Datacenter Evaluation x64 can be found here.
- Install all of the latest updates for Microsoft Windows
- Activate Microsoft Windows with your valid, legitimate license key
- Expand your C:\ Partition ? When you install our Microsoft Windows template it will by default only use ~15GB of your hard drive. Using ?Disk Management? inside Microsoft Windows you can expand your C:\ partition to include your entire drive.
- Installing missing Microsoft Windows drivers using SDI, you can download it for free here.


Source: WhatUpTime
ISO links have a problem!
mirror: http://file.dwz.nz/OperatingSystem/WindowsTemplates/Online/
error choose an option screen
windows 2012 open choose an option screen
Can you help me? I’m adding a screenshot.
http://i.hizliresim.com/Bry7LM.png
http://i.hizliresim.com/GByM9r.png
Not sure what you exactly need help with. You have to choose the language settings and after that it should reboot into that.
I turned it off. The same screen appears again.
Same problem with me (I tried to install with Joels link since above given links are dead)
Windows 10 starts troubleshooting mode and does not start at all!
Any help is appreciated
Joels Link dead as well
Links dead. Do u have updated links Joel
Link ISO dead, please update link, thank you…